Monday, May 15, 2017

Awesome Parent Volunteer Gifts

My parent volunteer gifts are all done and ready to go for the end of the year. If you are looking for a simple, but awesome gift this one is for you! I got the idea from Primarily Speaking. I did this last year and it went over well! 

How was it made?
Step 1: Purchase all of your supplies. 
You will need: clear bags, baskets, ice cream cups, and your choice of Toppings. I bought the baskets and ice cream cups at Target. The clear bags are from Michaels. 

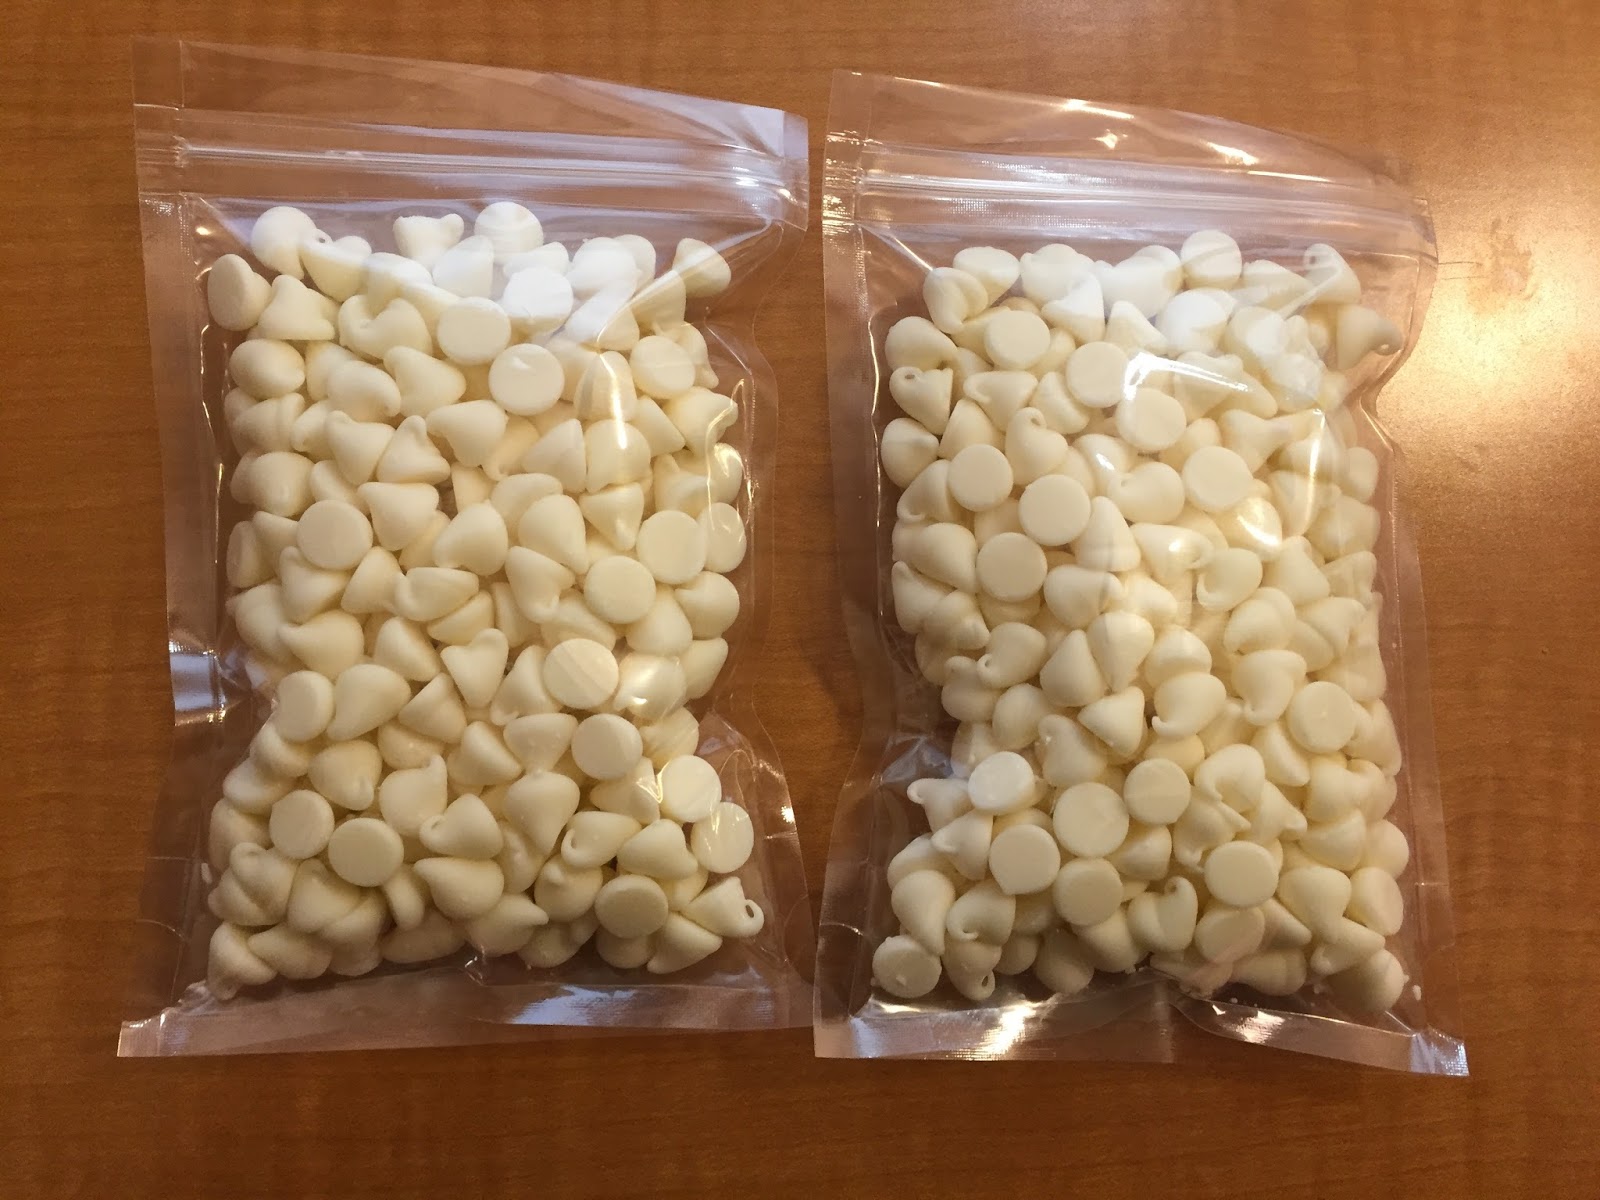
For Toppings I chose to include chocolate sauce, caramel sauce, white chocolate chips, milk chocolate chips, heath bar bites, m&ms, rainbow sprinkles and crushed Oreos. 
Step 2: Put the toppings into the clear baggies. I made two baskets because I have two wonderful parent volunteers. 


Step 3: I made labels for each bag so the parents would know what was in the bags. I designed them in Powerpoint. 
Step 4:Cut out the labels and fold on the line

Step 5: I used Glue Dot Lines to put on the labels and then I folded them over the baggies. 
Step 6: You will need to print the Cards! They are free to print. (Click Cards)

Step 7:Put it all together and you have an amazing volunteer gift! 

Sunday, May 14, 2017

My Kindergarten Favorites Pictures

As part of their end of year gift I decided to make these cute My Kindergarten Favorites Pictures. They look like they were difficult to make but they were really easy! Here is how to make them step by step! 

Step 1: You will need to take all of your kiddos pictures up against a plain wall. I used a wall in my classroom. When you take the picture you need to leave room on the top and on the right hand side. This is for the words and their name. I did not give my students a pose. I told them they could pose however they wanted. 
Step 2: I asked the kiddos some questions about themselves. 
What is your favorite color?
What is your favorite food?
What is your favorite toy?
What is your favorite movie?
What is your favorite animal?
What is your favorite TV show?
What is your favorite activity?
Step 3: You will need to design your pictures in powerpoint. I first went through and made the kiddos pictures the backgrounds of the slides. 
Step 4: I added all of the students names at the top. Create a text box and pick a fun font. 
Step 5: Create a separate text box to say, "My Kindergarten Favorites." 
Step 6:Create a separate text box to put all of the answers to their questions. 
Step 7: Create a final text box for your school year. 
Step 8: You are all done and ready to print! Repeat for each student! 

Here are all of the finished products! I love them! 


Happy Mother's Day 2017

Happy Mother's Day to all of our hard working moms! 

This year I had my kindergarteners make the most adorable craft! I am very excited to show how we made them and how easy they were! I hope all of our moms love them as much as I do. I wanted to keep them for myself. 

Step 1: Take the kiddos pictures so it looks like they are blowing a kiss. I had them face sideways and I took the picture from the front. 
Step 2: Cut out all of the students pictures so it is just them blowing the kiss. No background. I just found some good movies to watch and did a few every night. It was done in no time. I used an         X-ACTO knife to cut around. I felt it would be easier then using scissors. I think you could use whatever you are comfortable with. 
Step 3: Paint small poster board to have a background to glue your picture on to. I chose blue paint for everyone. It was easier to not give them a choice. The students painted the background blue. 
Step 4: Glue the pictures onto the blue paper. I used Mod Podge because I know it always words well for me. The kids pictures were printed on thick card stock, so the glue did not wrinkle the paper. 


Step 5: Cut out the hearts that the kids can glue onto their papers. I am a crafty person so I happened to already own heart punches. i just punched out the hearts in advance for the kinders. If I was working with older kiddos, I would let them use the punches. A few of my co-workers did this craft as well, but they used foam heart stickers and regular heart stickers. Use what you have. 


Step 6: Give the kiddos time to glue their hearts onto their posters. Every student got 12 hearts to glue onto their posters. I let them glue them anyway they wanted. It was really cool to see that all 22 of their posters turned out differently. I did mark of with paper where they should put the hearts. This was so no glue got on their pictures. Kindergarteners can be messy. 


Step 7: Let them Dry completely! 
Step 8: I laminated mine because the kiddos worked so hard on them I wanted them to be kept safe! 
**All pictures of this student were shared with parent permission
Step 9: We wrapped them up in paper bags from the grocery store and they were all ready for their moms! 

Here are all of our finished projects!